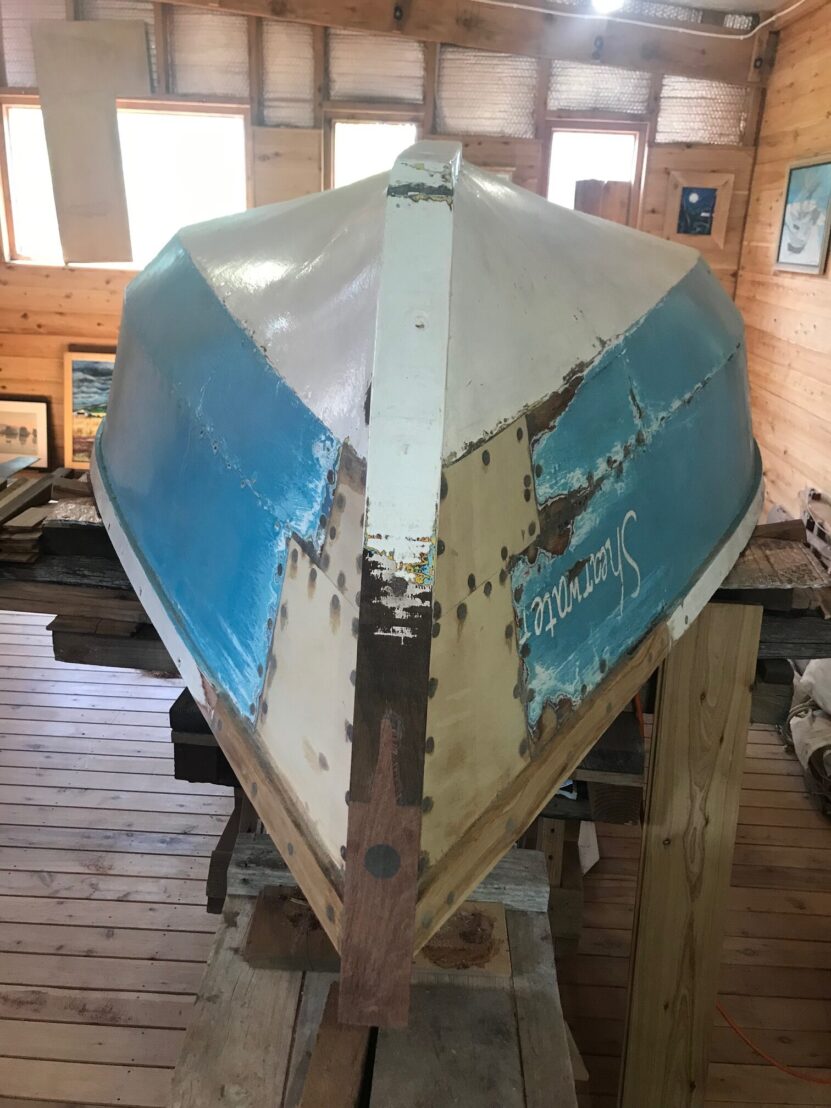
Transom 2

Done.

As far as any small boat can be watertight, Shearwater is now watertight….

Next task:  repairing our new mainsail, which has been damaged by an enterprising rat. He, or she, gnawed three almost perfectly circular holes in the lower fabric. I suppose that is one interpretation of the nautical phrase – shortening sail.

Our last voyage in the Bay was long ago (around 2007).  Almost time to get out the beach rollers, and return Shearwater to her native element.
LEARNING CURVE 5

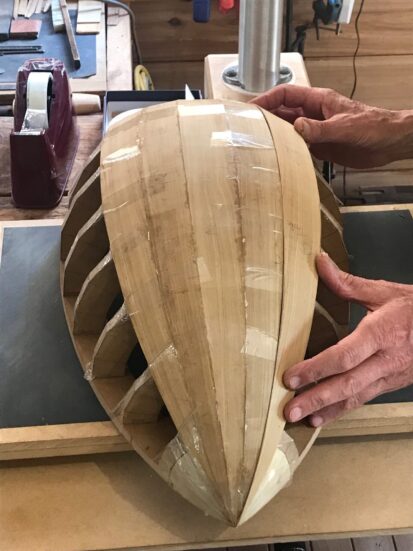
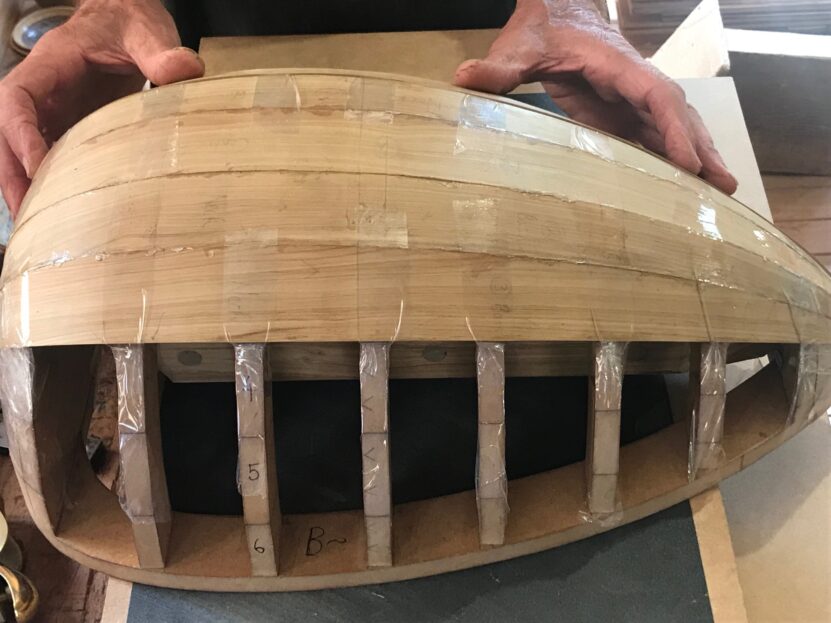
I have already glued four Lute Ribs edge to edge, and to their shared point of contact: the neck-block (temporarily attached to the mould).

Here I am fitting Lute Rib number three on the treble side.

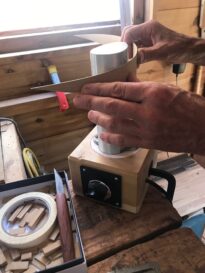
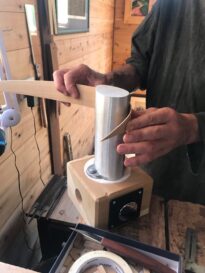
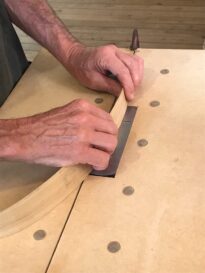
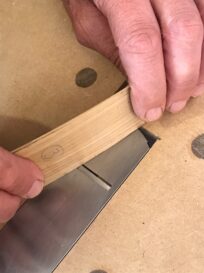
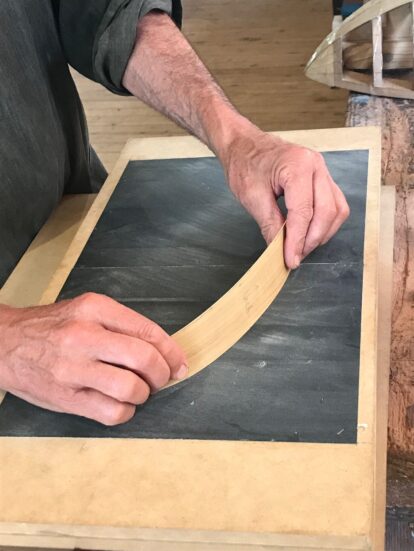
Sam has photographed the various tasks as they arise: shaping the rough-cut Rib on a Bending Iron (so that it lies snugly against all points of contact along the curves of the mould); removing excess wood by means of an upside-down Block Plane  – and fine-tuning both edges on the absolutely flat surface of the Emery board.

It is an absorbing and frustrating and satisfying process….


Transom 1

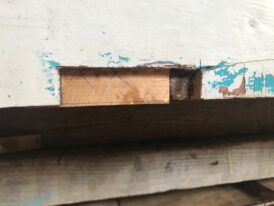
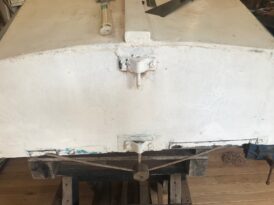
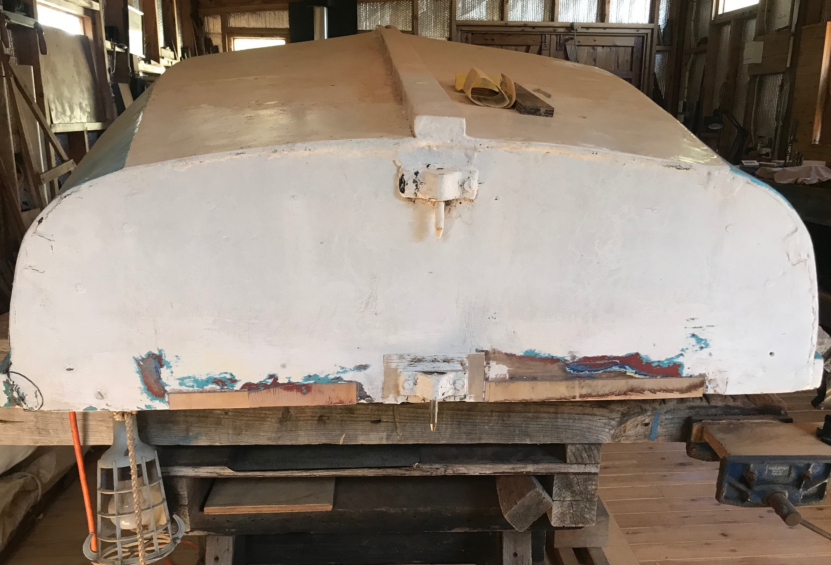
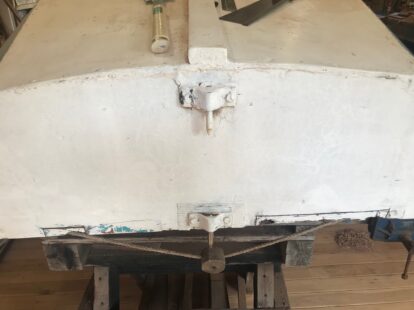
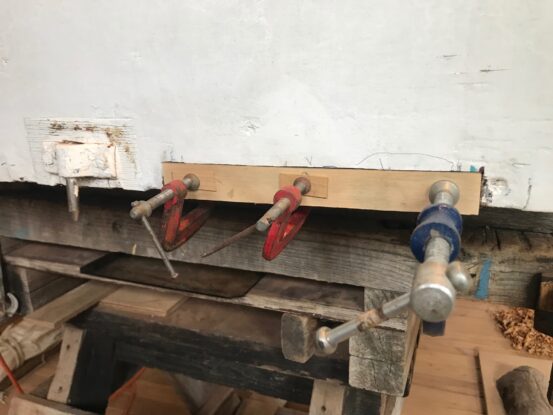
As you can see below, Shearwater has two areas of dry rot along the top edge of the transom.

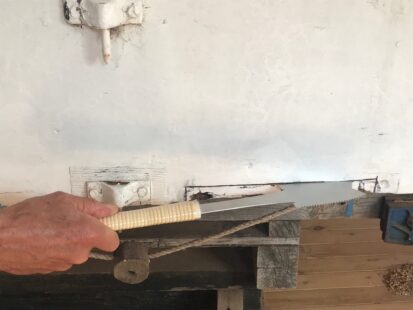
I admit to purchasing the Hishika Azebiki Saw primarily for its looks – but already it a has become a necessary luxury, as I knew it would.

These excellent saws with their curved blade can begin a cut in the middle of a flat surface….hence their traditional use in Japan for inlay work, butterfly joints, and (for all I know ) – boat-building.