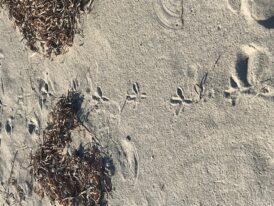
Perfect Autumn day. Photos by Sam. The tracks in the sand belong to a White-faced Heron. At the southern end of the bay there is a flock of ten or so – but up by the estuary we might see a solitary bird patrolling the river bank. Perhaps the northern end is reserved for eccentrics, and those of hermetic inclination….
Category: Uncategorized
ESTUARY 5
I was out and about early today, with a fine rain soaking my hat, my shoes and everything in between. I usually walk southwards in the mornings, and northwards in the afternoons: that seems to be the comfortable thing to do, and has therefore become my Way.
Crested Terns were huddled on the edge of the reef, their beaks pointing into a northwesterly breeze. A solitary Heron poked about in the rock pools….and I encountered a long-time friend: the resident Black Oystercatcher, who visited a few years back, liked what he saw, and stayed on. I think he is a bachelor. He wanders among the rocks with his head down, now and then uttering a plaintive little note, and scarcely bothering to move aside when I approach.
High up, a handsome Pacific Gull sailed across, from south to north. These birds, as they fly, keep a weather-eye out for unconsidered trifles – and yet,
they always give the impression of being on a mission; of heading for somewhere in particular, and with a particular purpose in mind. They are a bird of mystery, and mastery, and long distances….
Yesterday afternoon Sam and I strolled to the Estuary, a quarter of a mile north of our Bay, to see what was what. Sam was armed with his tiny phone camera, and he did an excellent job in capturing the delicate lights and colours of autumn. I think of Autumn as the season of pastels: colour becomes less intense; contours shift and merge. The river itself changes course from day to day, as water trapped upstream starts flowing into the ocean.
We noted a single Pacific Gull, a single Silver Gull, both perched on the western side of the sandbar: not too close together, not too far apart. It looked to be a companionable – a shared – solitude.
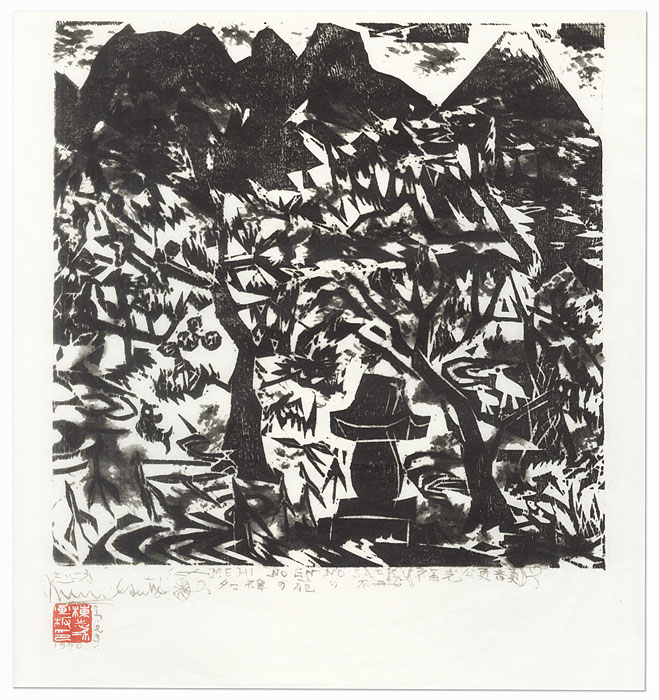
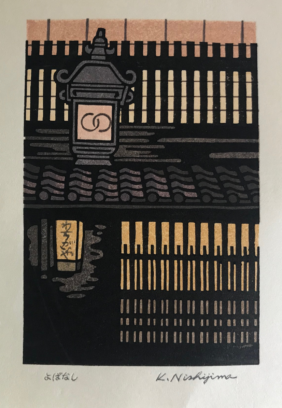
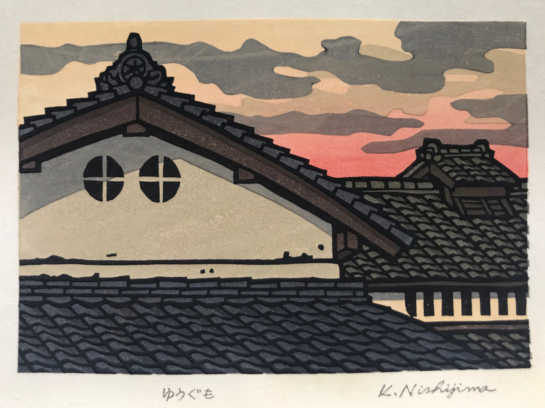
Shiko Munakata 4
LEARNING CURVE 12
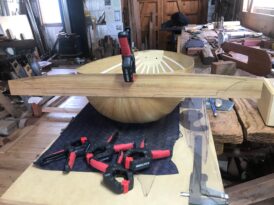
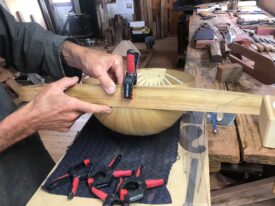
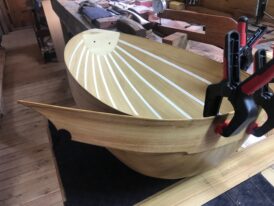
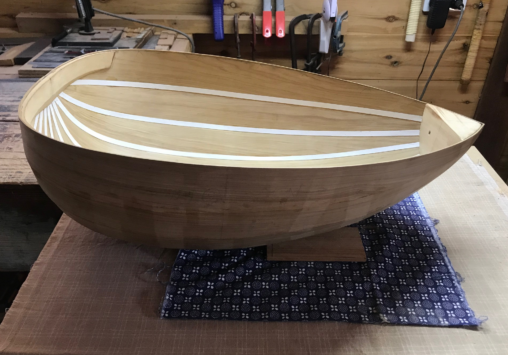
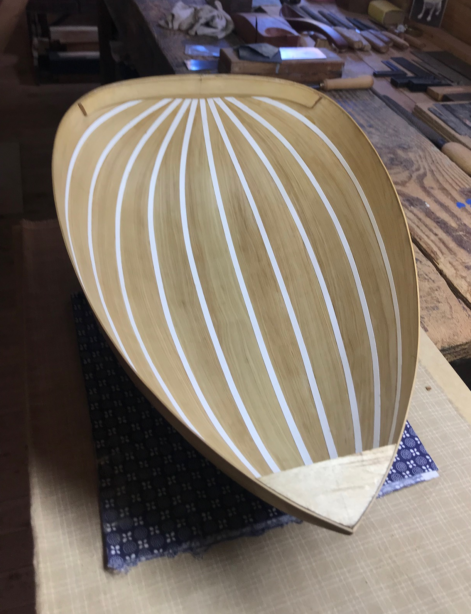
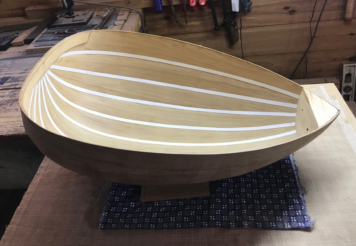
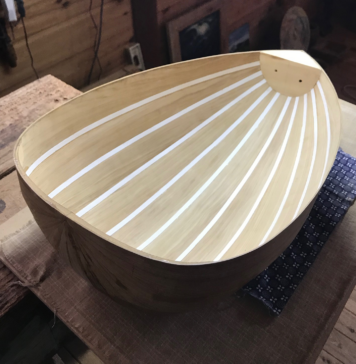
A month or so ago I was thinking that installation of the Endclasp would be a relatively easy matter – but alas, I discover it is by no means easy….at least, not easy for a novice.
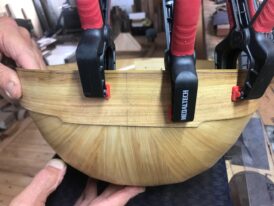
I have so far developed three different templates, in the hope of coming up with a pattern that does the job.
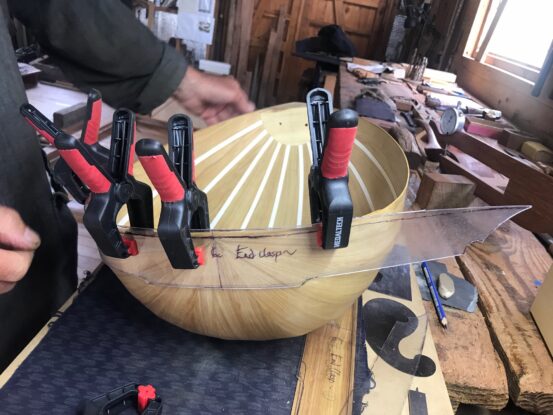
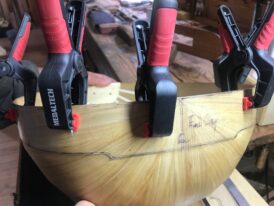
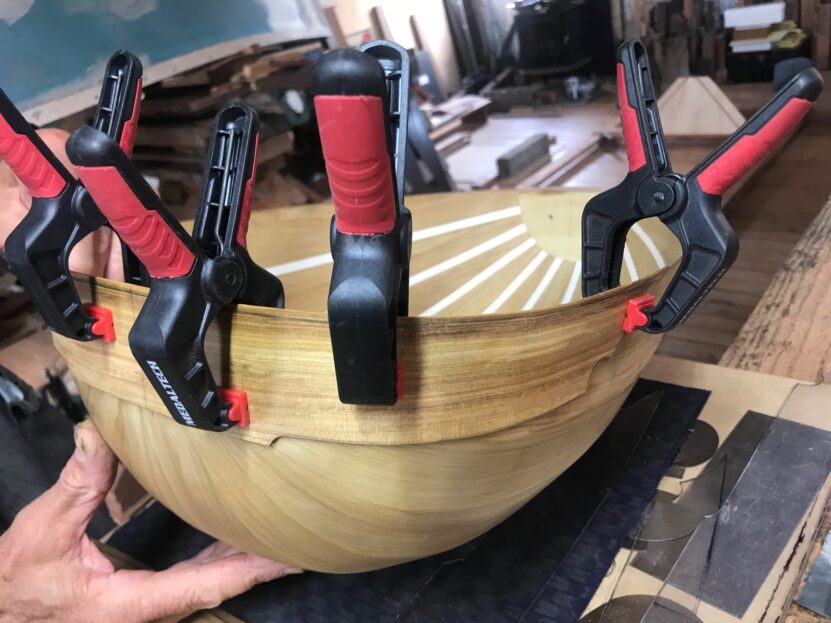
One pattern does, indeed, look to be acceptable. In the gallery you can see an ‘experimental’ length of cypress, maybe 1.2 mm thick, bent around the ‘stern’ end of the lute. If that works out, I will use the same pattern on my Plan A cypress, and hope for the best.
There is no particular endlcasp formula I know of, unless it be patience, or stubbornness – or both.
Perhaps: make haste slowly.
MAINTENANCE
One of the satisfying things about wooden Boatsheds – and wooden Boats – is that they require annual maintenance….assuming they haven’t been covered with a toxic sealant such as epoxy.
Winter, of course, is the best season for attending to the running repairs on boats; the best season for dreaming great maritime dreams.
I usually tackle the odds and ends of Boatshed maintenance in Autumn, when it is a pleasure to be working outside. The hands seem to create their own rhythm, while heart and mind are free to wander along any path they choose.
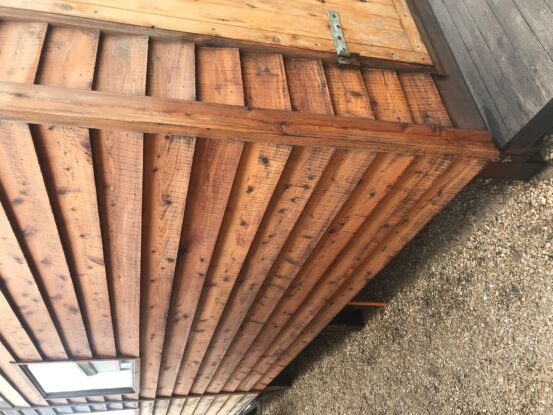
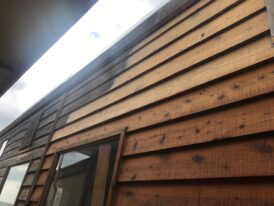
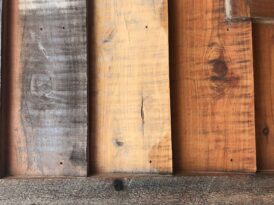
Each day of this autumn I have been sanding back the cladding, bit by bit – and thereafter applying our special linseed oil mixture, based on the secret recipe that Dad developed for Shearwater.
The Boatshed gradually emerges from its weathered ‘chrysalis’, and reveals what was always there: a beautiful golden colour reflecting the mellow sunlight of autumn….
Shiko Munakata 3
WILDERNESS
It was a blustery day, so Sam and I decided to follow the track running northwards behind the sand-dunes. Wild creatures often shelter on this eastern side – but today there was no escaping the January winds, which can blow from one or other quarter with sudden ferocity.
We decided to cut through the dunes onto the beach, pausing to inspect an ancient Bearded Heath (Leucopogon parviflorus) of impressive size: an Elder. Each year we come this way, in search of seeds for the Boatshed nursery.
So far I haven’t been able to raise ‘offspring’ from either cuttings or seeds; I will keep trying…
As you can see from the photos, the beach was deserted: not a soul to be seen – north, west, south….not even a gull or tern. The tide was far out, and tiny wavelets showed their flecks of white against the sea-blue.
Always a welcome and healing sight.
Thereafter we turned south along the edge of the Bay (where Silver Mist, Morning Mist, Whimbrel and Gannet began and completed their countless voyages); past the familiar rocks and pools with their special names – and back to the shelter of our old Shack and the Lady Bay Boatshed.
January gales have been especially ferocious this year, but these two structures continue to stand firm. They have solid foundations.
Afterthought: do gulls and terns have souls? I remember Dad declaring that dogs have souls – so why not seabirds?
I feel sure that they have tiny souls, great souls.
KATSUYUKI NISHIJIMA 2
SEQUOIA
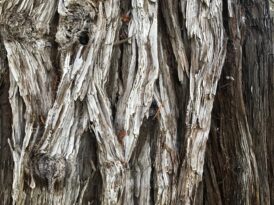
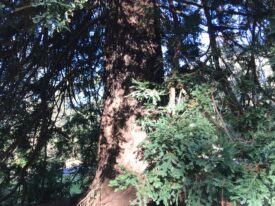
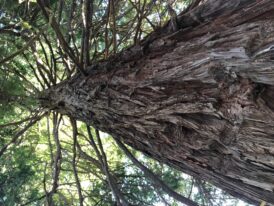
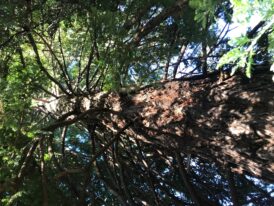
A few weeks back Sam and I visited the big Sequoias – planted near Railway Dam, at the heart of the Belair National Park, in about 1895.
The Park was our boyhood realm of long ago – the family kingdom – and every square inch of it is therefore familiar.
We were not so much visiting, as returning….
The Sequoias are massive trees, of breath-taking height. Their topmost canopies seem to brush the heavens, and the spiralling branches invite further exploration. They remind me of the fabled Mallorn Trees of Lothlorien, at the top of which the elven-folk built their secret pathways and aerial homes.
For some years I have been keeping a weather-eye out for Mallorn seeds, in the hope of establishing a grove of silvery and golden saplings next to the Boatshed.
It is, as the saying goes, a work in progress.
As for the Sequoias: they tower above the ancient bushland all around. They seem ancient, but they are not; they seem to belong – but after all, their true homeland is far away, on the western sea-board of California.
I have an idea that each twig, each leaf retains a subtle recollection of its original home: its inheritance – and the knowledge, or knowing, is somehow passed on from one generation of leaves to the next. It must surely be so, even if the recollection lies beyond our ken….
high-up branches
on the lookout
for ancestors
LEARNING CURVE 11
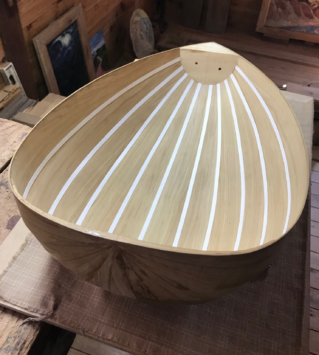
Now that the seams are reinforced from the inside, I can remove the tape from the outside of the lute body, and clean up each rib where it meets its neighbor.
Once again, a simple wood scraper should do the trick.
Thereafter, I must shape and install the end clasp – and then….but that is enough for now.
As Dad used to say about boat-building: one job at a time, bit by bit, and all things in due succession….


